Often with Screencaps you want to do the same process to a number of them - for example, bring up the brightness, crop them to a certain size, and save them to a new folder as jpegs.
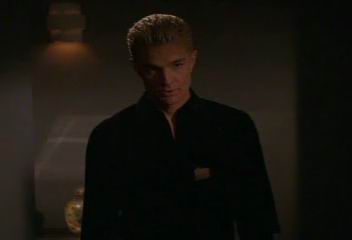
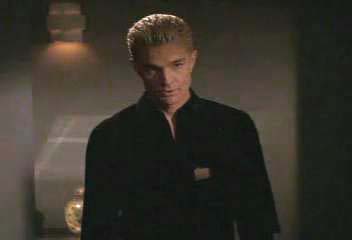
Although any picture of Spike is perfect in my book, this one I would want to change a little before putting it up in a gallery. If you've used DVD capture software, as I do for my dvd screencaps, (have you checked out my dvd screencaps?) then they are saved as Bitmaps... no good for the web.
So, lots of reasons why you might want to repeat the same actions to lots of pictures and that's where "Actions" comes in.
If you do want to save images to a new folder, go into windows explorer at this stage and create one.
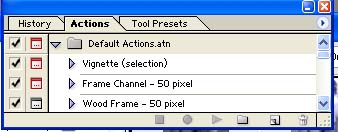
Bring up the actions pallet on your screen and you will see that there are some ready-loaded photoshop ones. You're going to make a new one to run the changes you want to your screencaps.
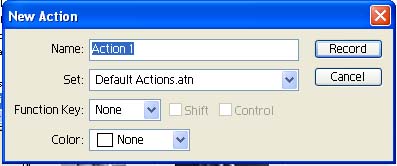
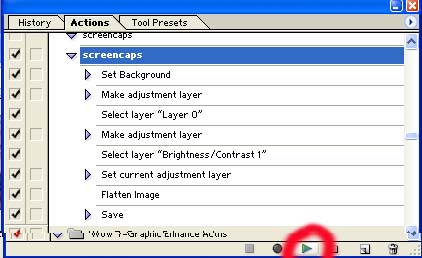
At the bottom of the actions pallet are a row of buttons. You will want the 'new action' button. Click it and the "New Action" box appears.
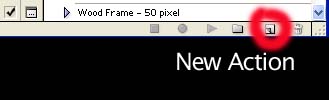
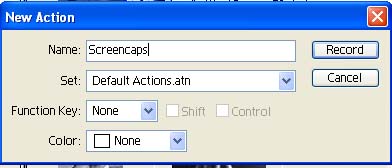
Name the action something that is applicable (I've called mine "screencaps" in this example) and if you click 'record' or 'return' you are ready to start recording the actions you want.
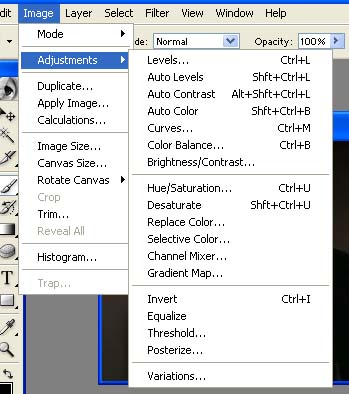
The first action you want is to bring up the brightness, levels or colour, for example. Now, photoshop 7 has all these as automatic corrections.
This is the picture before and after all those corrections.
Not very good.
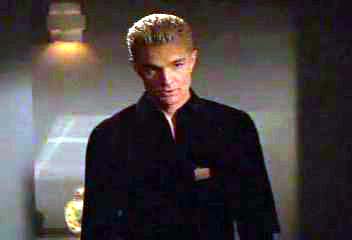
This is with manual correction, which I think is better.
So it's the manual correction I'm going to load into my actions.
So, you have actions selected and you've named it something and you've clicked 'record' to start.
The image you have of Spike is the background, so the first thing you need to do is double click it to turn it into a layer.
Now bring up the brightness/contrast adjustment layer and make the adjustments you want.
Do the same with hue and saturation until you are happy with the result.
Then flatten the layers and save as a jpeg to the folder you created earlier.
You can see the result on the right: first action was turning the background to a layer (Set Background)
Then I did the adjustments and then flattened and saved.
Then click stop recording and you've a new action in the box to run anytime you want on other pictures.

To run the action, select another screencap from the batch you've made. Click on the name of the action you created, and then click 'play' as shown in red over.
The new screencap will change to a layer, have adjustments made and be saved to the new file.
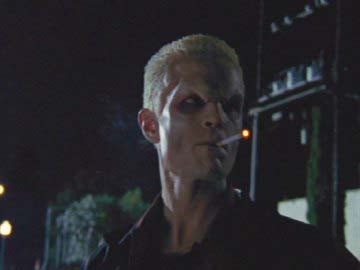
Here's another cap picked at random and the action applied to it. (click on the action and then run action)
In these examples, they are only minor changes, but if you want to resize, crop, apply a frame, for example, it can save a lot of work.
However, if you've got nearly 100 dvd images in a folder that you want to do the same thing to - for example, turn them all from Bitmaps to jpegs optimised for the web, then even actions aren't good enough. It would take all day to apply an action to each image.
What you need to do is set up a droplet - an action that you can drop an entire folder of pictures into.
It's very easy in photoshop 7.
I'll show you how....

Capture your raw Bitmap images in a folder (I called mine download2 for this example).
Again, create a new folder that you want your optimised for web pictures to go in. I call mine "optimised", cus I'm imaginative like that.
Bring up one dvd picture and create the actions you want for it, following the tutorial above. (new action, record, blah, blah, stop recording)
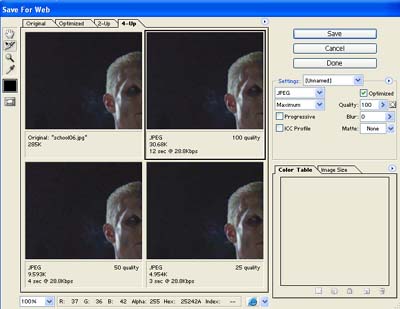
In this case, I want to run autocorrect colour, levels and brightness/contrast then save optimised for the web in "optimised" ready for turning into a photogallery with Dreamweaver.
I've shown you where the auto correct menus are, right, you can see the save for web box. (File, save for web). I usually pick the second option, but I've got a very powerful computer and fast internet connections, so I can keep my files large. If you haven't, you may want to pick an even smaller picture, but you'll lose image quality.
When you've done all the actions, click stop recording and now you need to turn that action into a droplet.
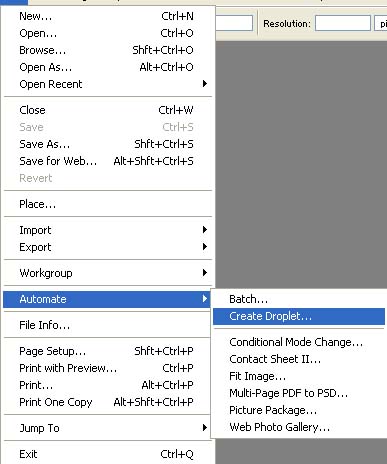
Under the file menu, you have "automate". Open it up to see "create droplet".
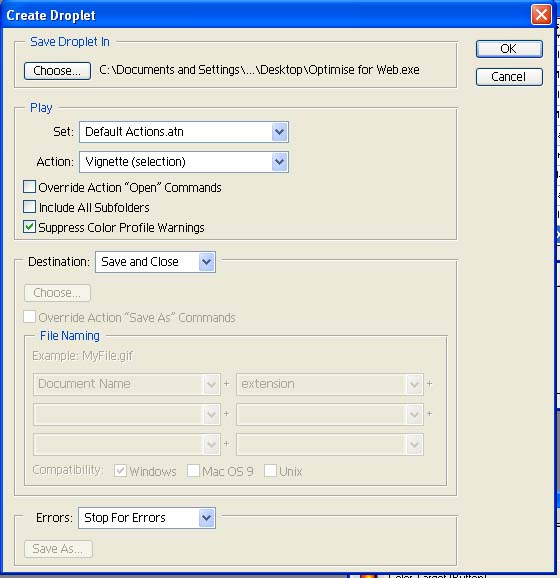
It comes up with a menu like this.
Click choose and browse until you find your new folder (mine was "optimised) and name the droplet. I chose 'optimise for web' - retaining my imaginative method of naming my files and folders.
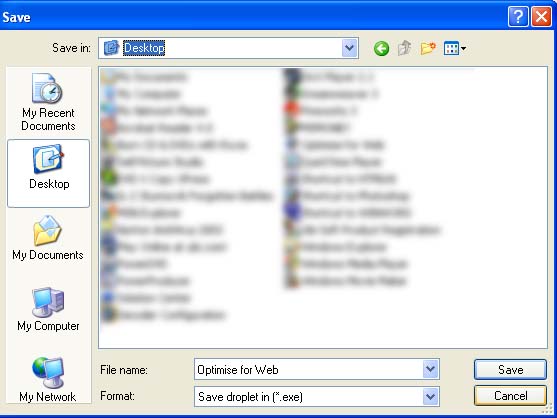
Save it to the desktop. (it's deliberately blurred here - I've got work files on my desktop.)
In the middle of the droplet menu is a box "Destination". Choose Save and Close.
Make sure that you tick "Supress colour profile warnings"
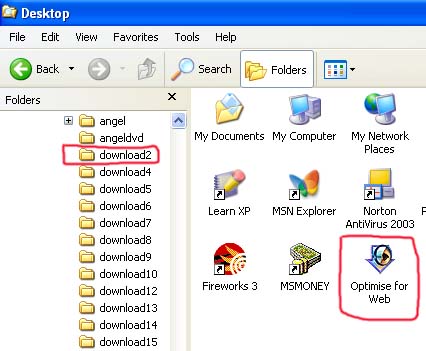
Click OK and a 'droplet' called 'Optimise for the Web' is created on your desktop.
Now, the clever thing...
In windows explorer, select the folder where you've captured all the dvds and drag it and drop it into the droplet on your desktop.
In this example, I've got all my raw dvd captures (Bitmaps) in "Download2". I drag it into Optimise for the Web. Photoshop will automatically open up. All 100 (or whatever) captures will be auto-corrected and saved as jpegs in my file "optimised" (which you can't see in this example).
I hope you enjoyed this tutorial and found it useful. You can apply the technique to any actions you want to have. For example, you could apply the same style to pictures - maybe putting a frame on them. You could have a droplet called 'Frame My Pictures' and use that. I don't use copyright images on my manipulated pictures, but I know some people do. You could create a logo with your name and then drop an entire folder of pictures in to have that copyright applied to all of them.
I hate an empty box when you could have a picture of Spike, so here's one I did with the 'extract' feature of Photoshop 7.
Enjoy.